How to Manage Your Athena Account
Uploading Content
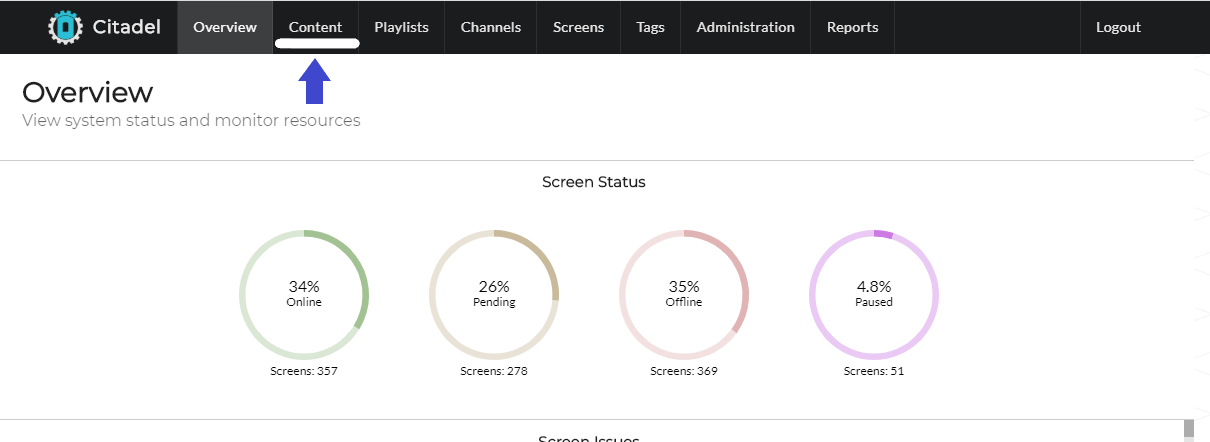
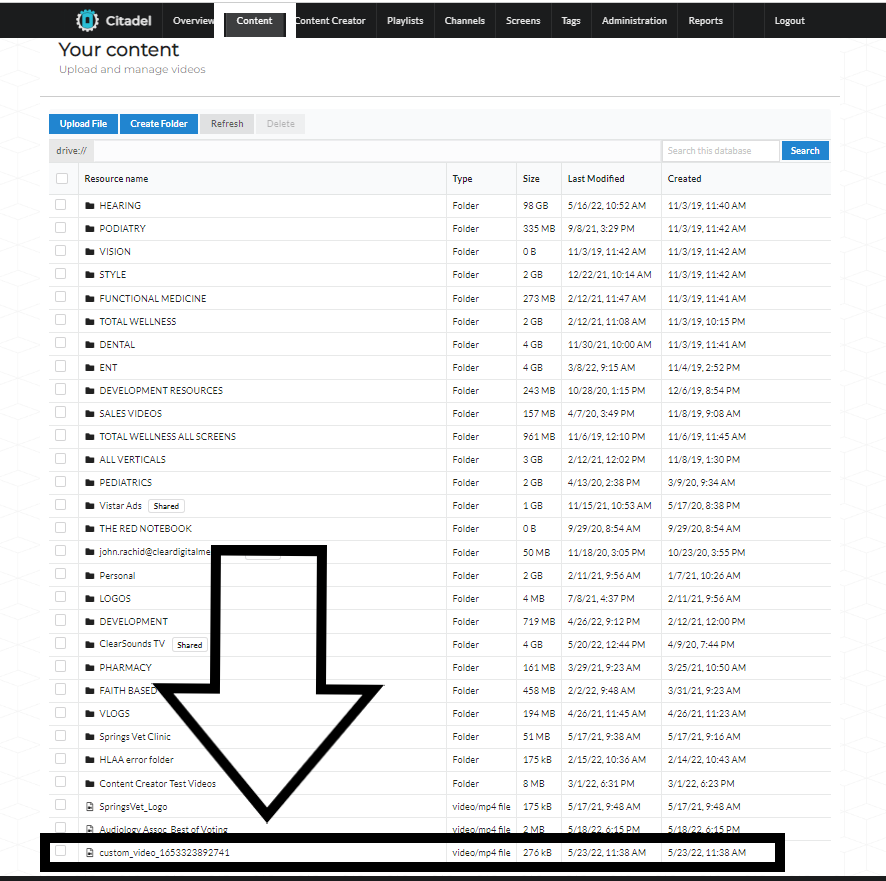
- Login to Citadel and click on the Content tab
- Create a folder for content to be placed
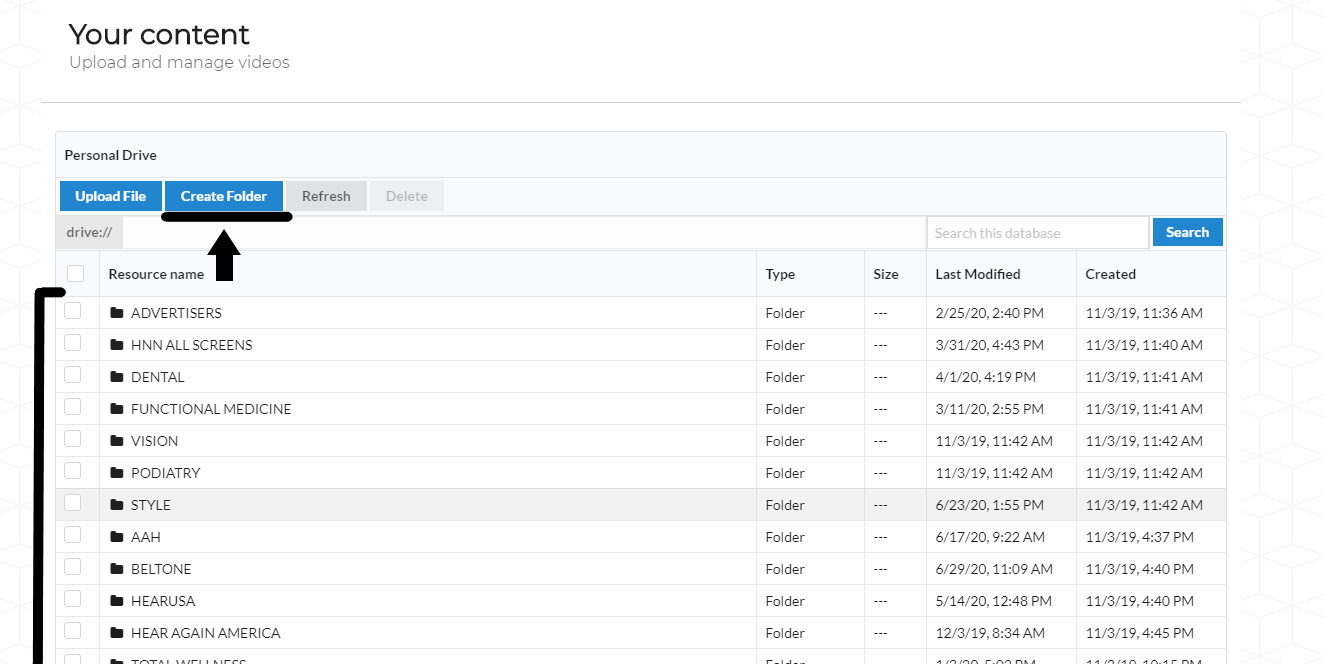
- Once in the folder either create a new subfolder or upload the video straight to the main folder once Upload File is pressed it will take you to your documents to select the video you wish to upload

Creating a Playlist
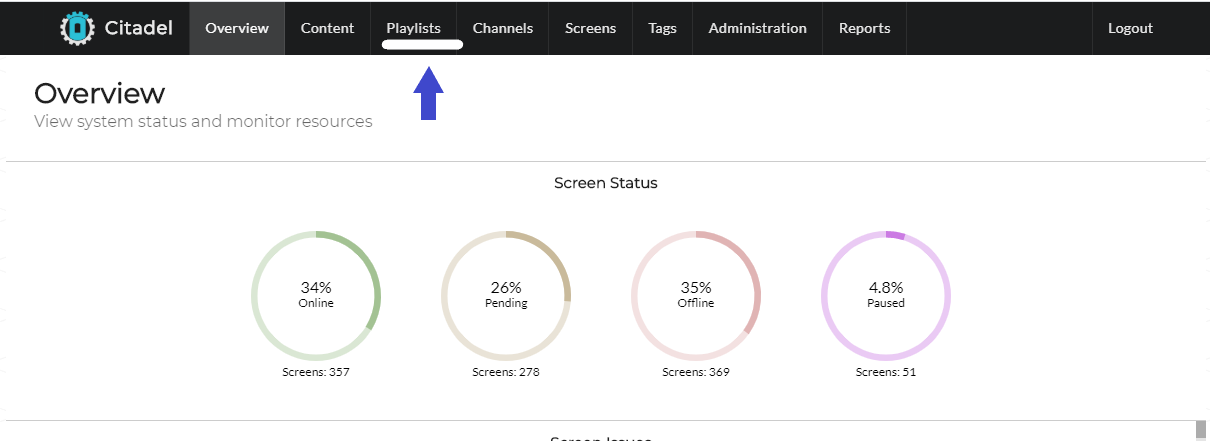
- Login to Citadel and select the Playlist tab
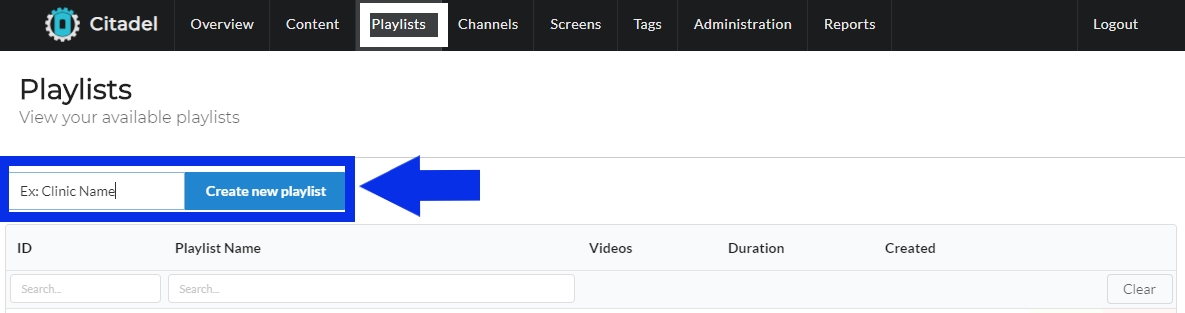
- Name your playlist in the “Create New Playlist” box. Example: Clinic Name (for custom)
- Add the videos to be played on this playlist once done press save

- To add a playlist to a screen you will need to first add it to a channel.
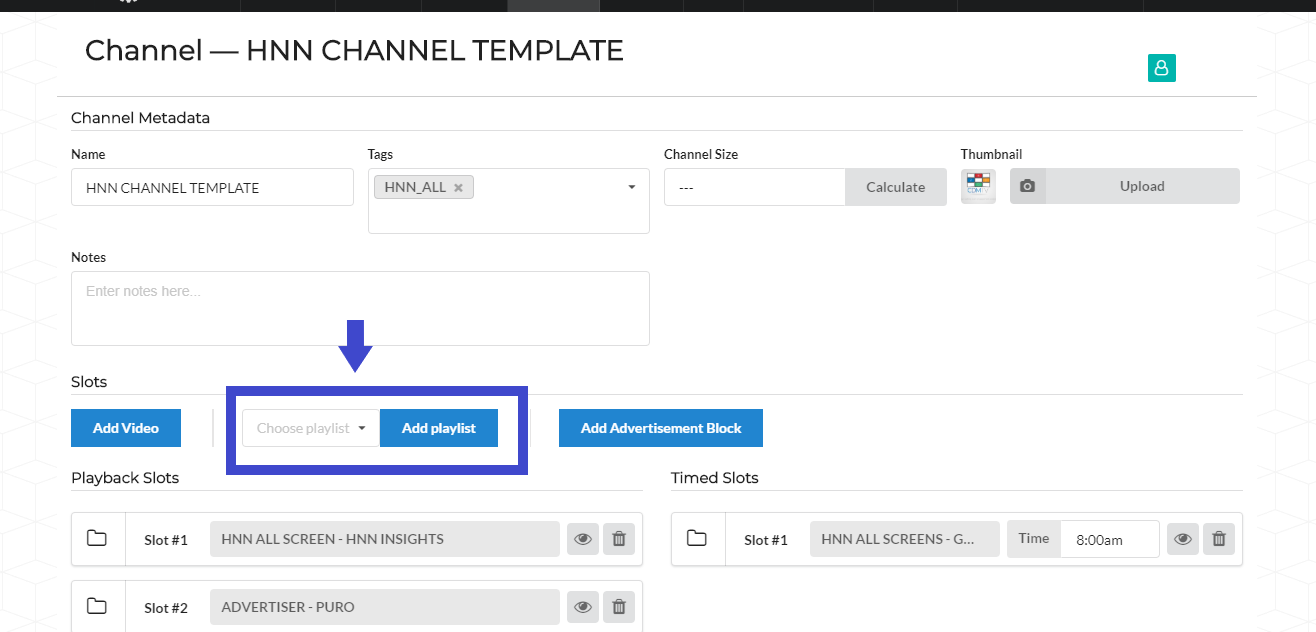
- Go to the Channel tab and create a Channel or select one you wish to add the Playlist to
- Once inside the channel press "Add playlist" and search the playlist name you just created
- In most cases, the channel you add your new playlist to is already attached to a screen however, if you are setting up for the first time you will also need to add the channel to the screen. To do so open the Screen tab then press Add Channel.

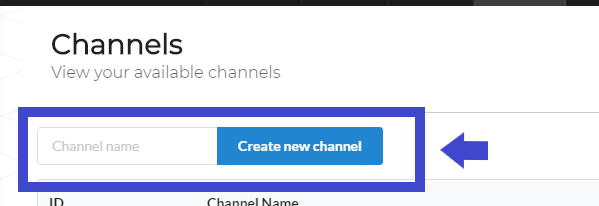
Creating a Channel
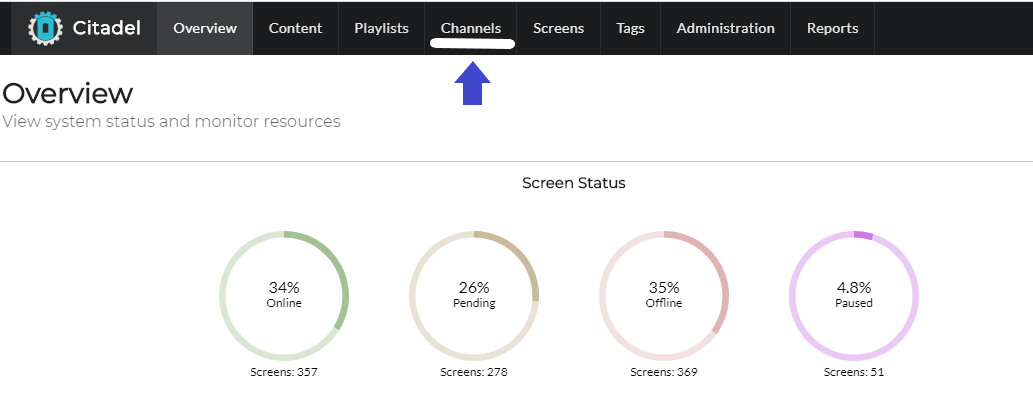
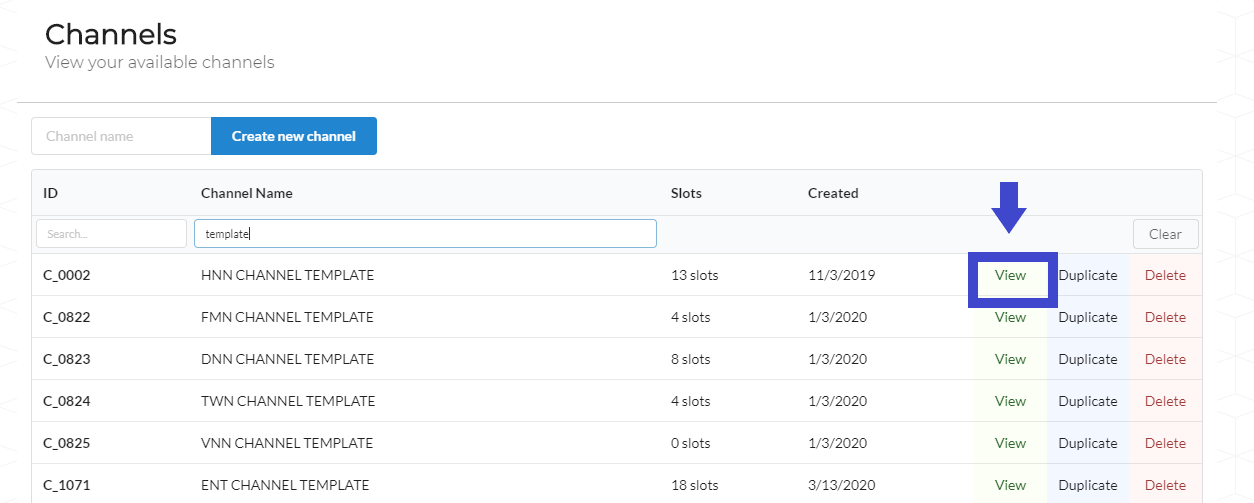
- Select the Channels tab from the Citadel home page
- Enter the name of the channel you wish to create and press create a new channel
- To add content to a channel you can either add a playlist or a video directly. In some cases, you may upload videos individually if they do not belong in a specific playlist.
- Once a channel is created add it to a screen to be seen
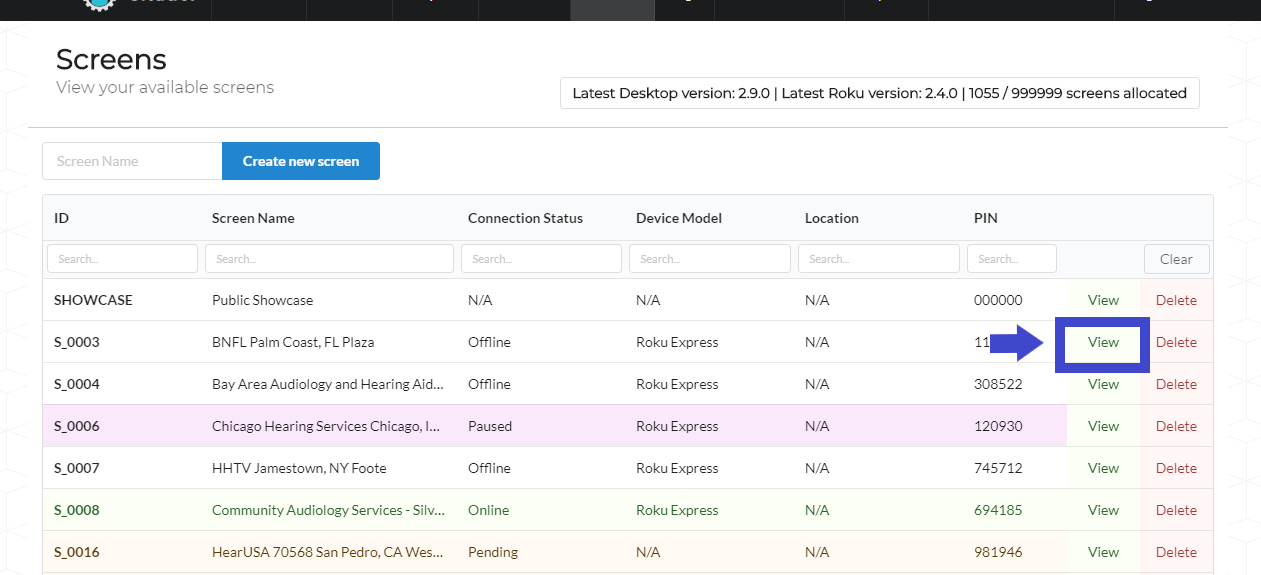
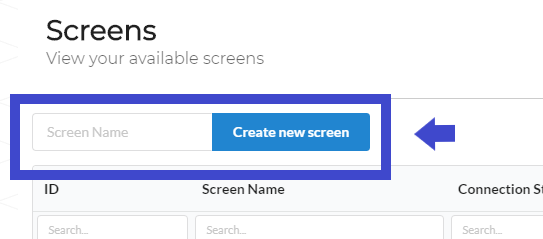
Creating a Screen
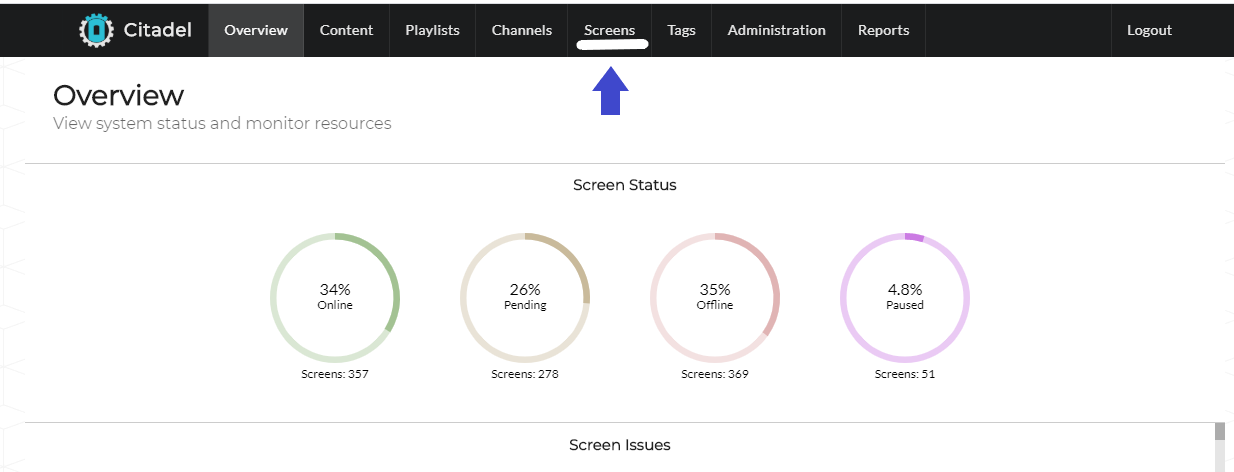
- Click on the screens tab from the Citadel home page
- Enter the name of the screen you wish to create. In most cases that will be the location name.
- Set up the configuration of the screen (scheduling the screen start time and end time)

- Once the screen is created add channels to be viewed
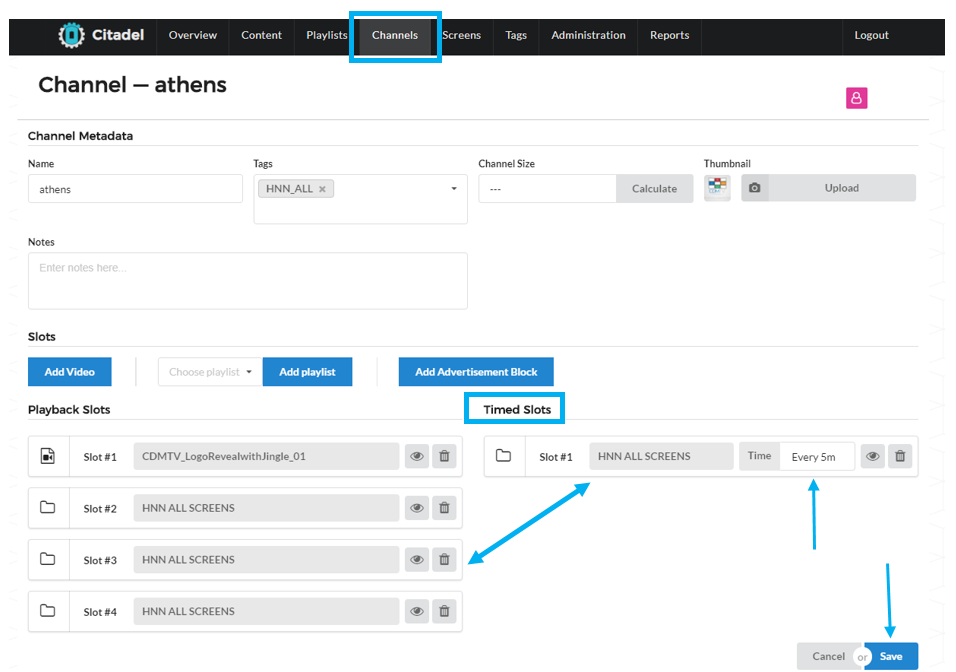
Adding a Time Slots to a Channel
- Click on the Channels tab from the Athena overview page.
- Locate the Channel to add the Timed Slot to.
- Drag and drop the specific video/playlist under Timed Slots. Set time to greater than 5 minutes. Using Timed Slots will play one video from the playlist per specified time set.
- Click Save.
Creating and Applying Tags
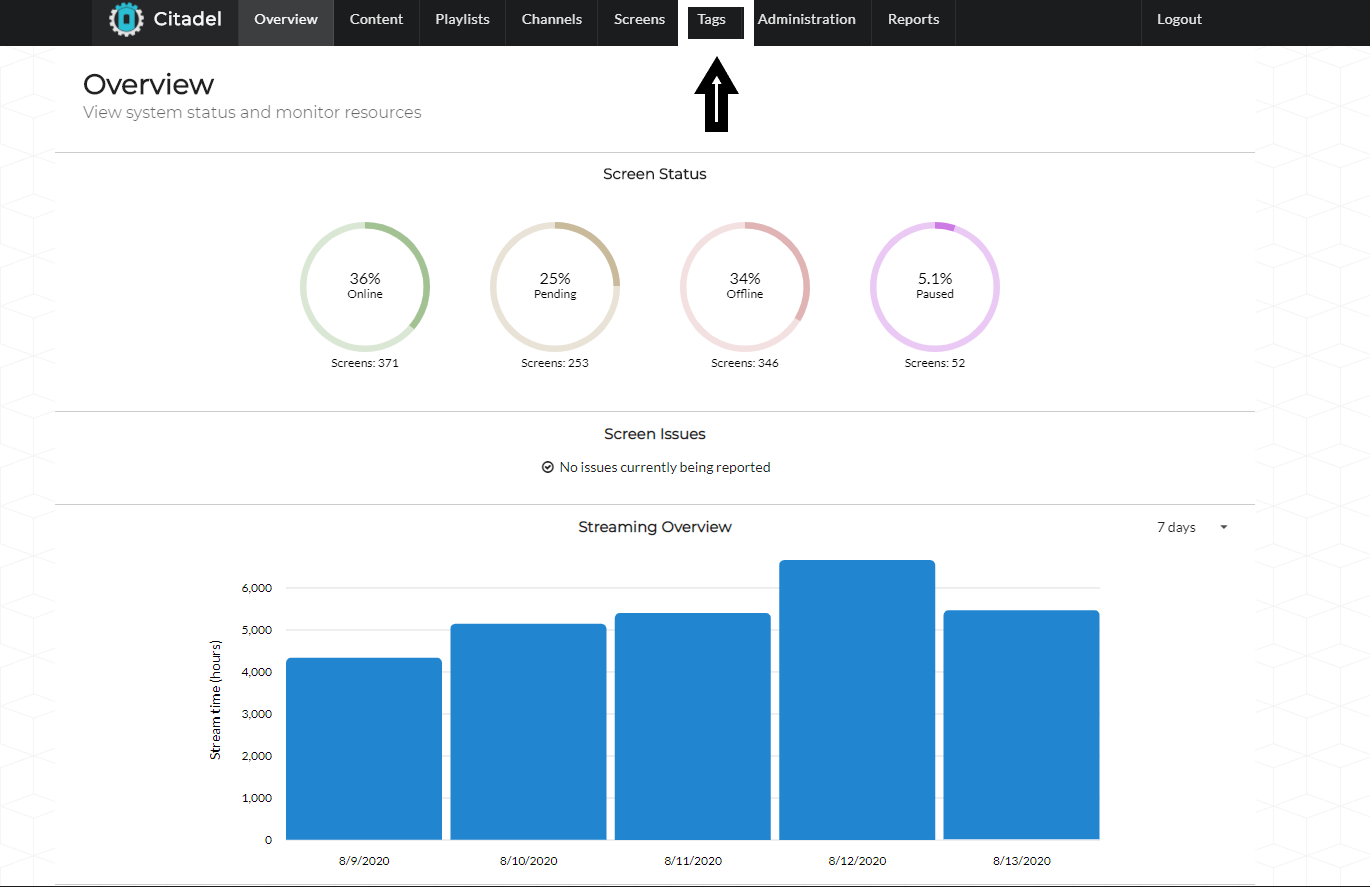
- Click on the Tags tab from the Athena overview page.
- To create a tag, enter the Tag name then press Create New Tag

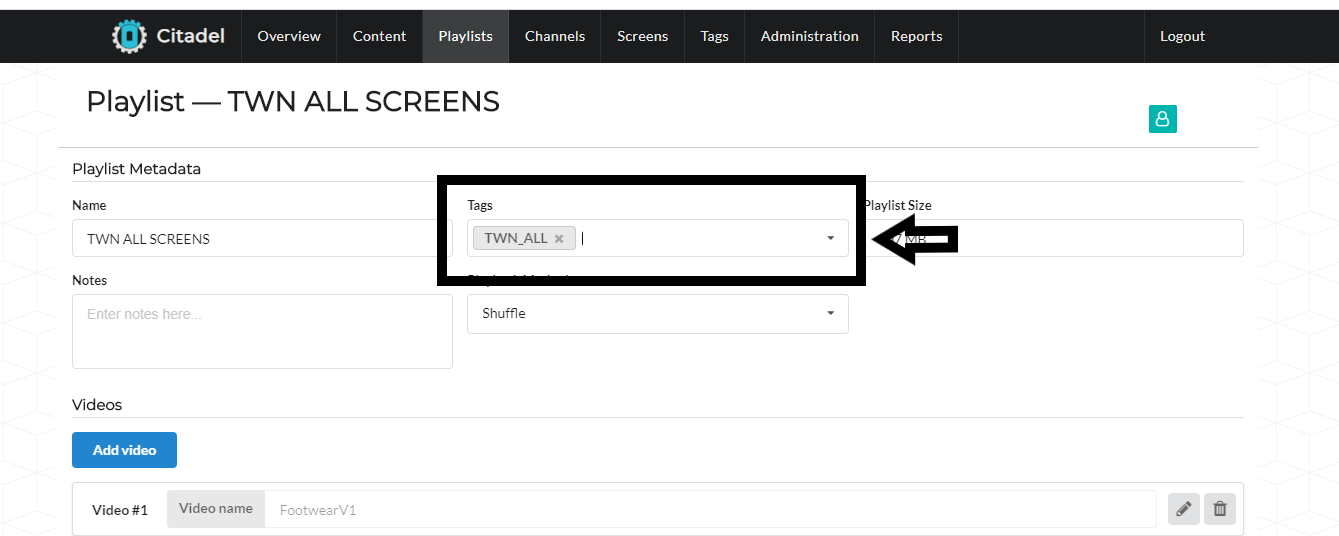
- To apply the tag, go to the playlist, channel, or screen that you wish to add the tag to.
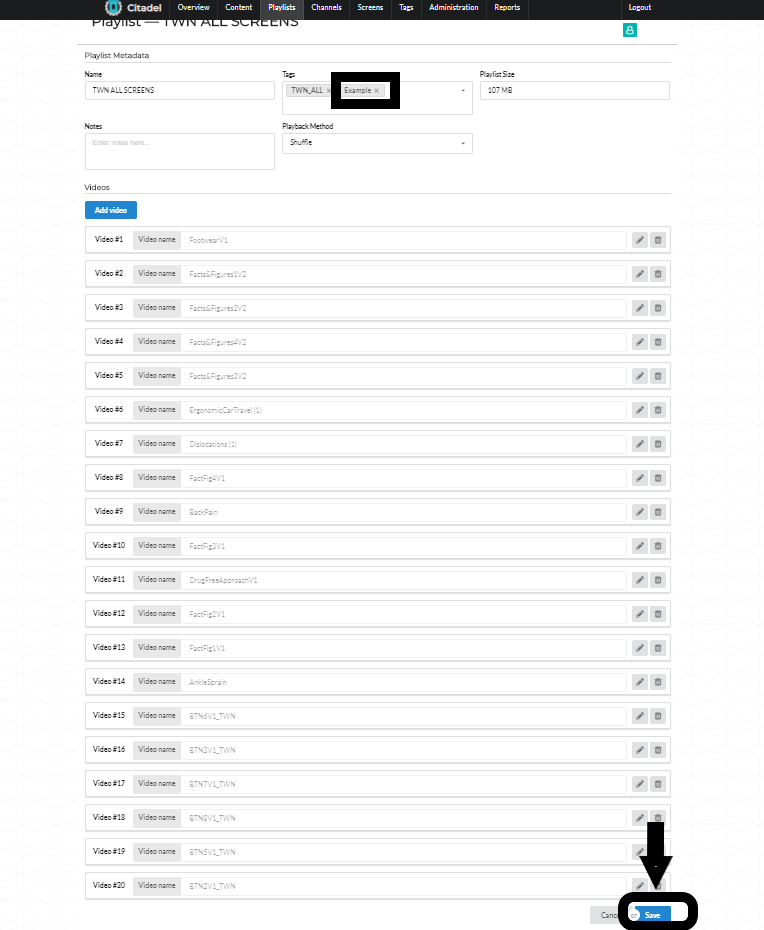
- Once in the Playlist, Channel, or Screen you wish to add the tag to, click on the tag bar. A drop-down menu will appear where you can select the tag you wish to apply.
- Once you select the tag you wish to apply, press Save at the bottom of the screen.
- To add a tag to a Video, the process is slightly different. Start by going to the Content tab from the Overview page.
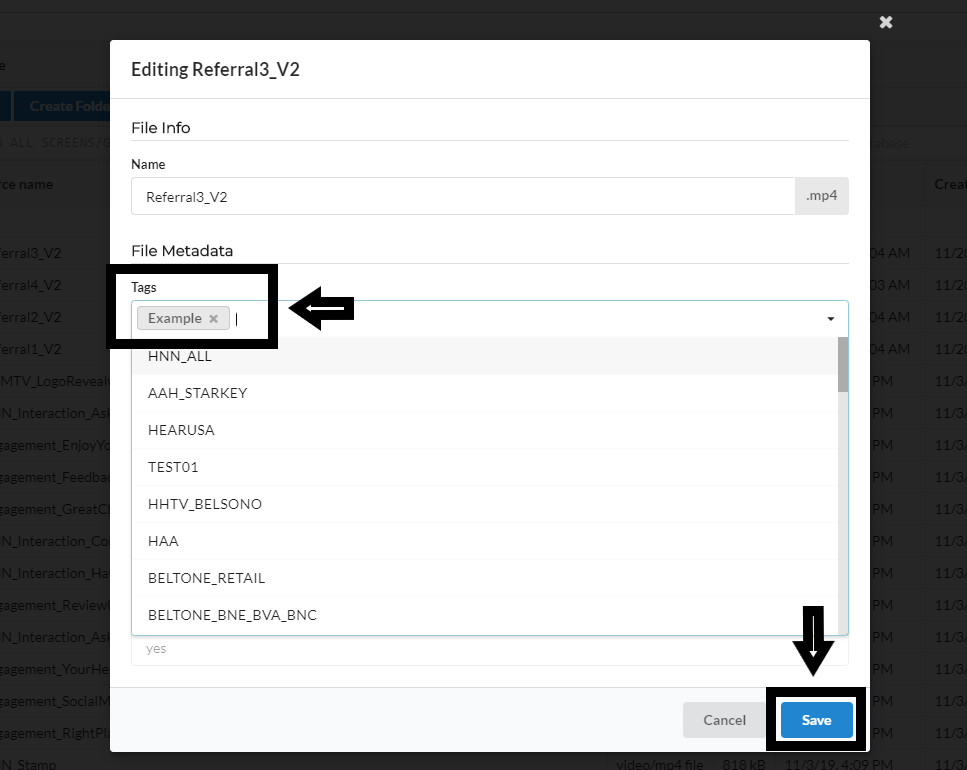
- From content go to the video you wish to add a tag to. Right-click and select Edit.
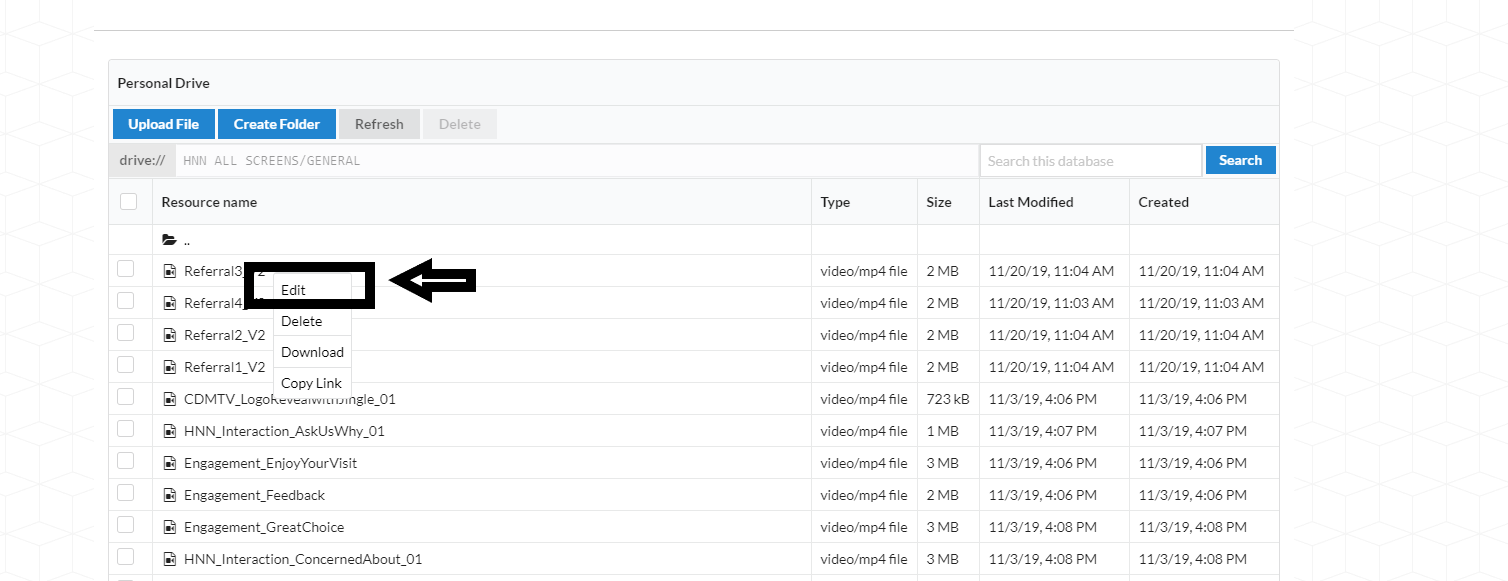
- From Edit, you will see a line labeled Tags, click on the line and a drop-down menu with options will appear. Select the tag you wish to apply and press save.
Adding a Custom Desktop Player View
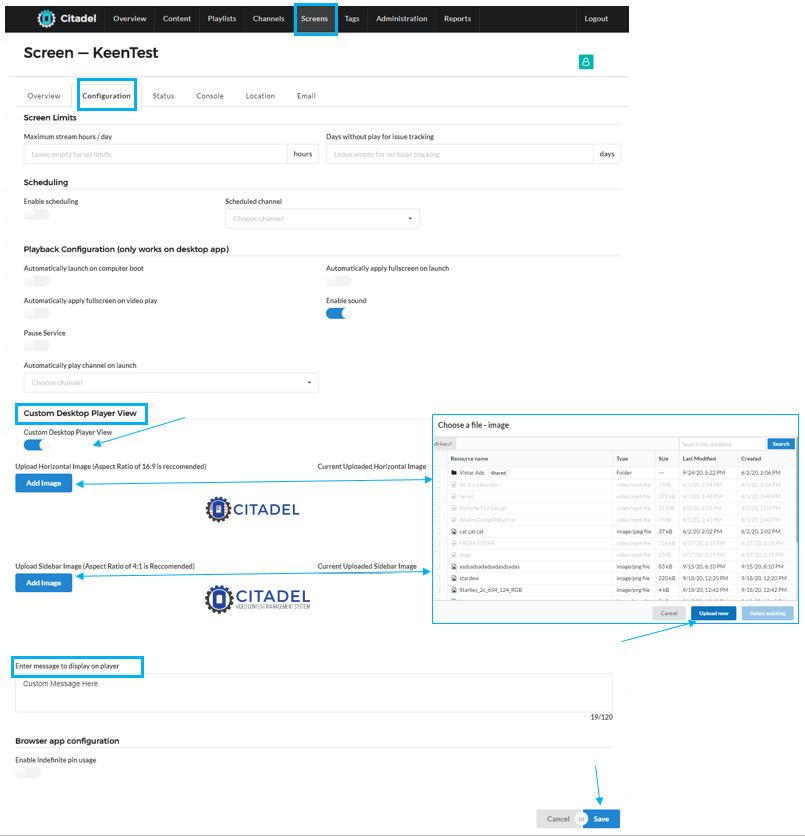
- Under the Screens tab go the the Configuration tab.
- Under Custom Desktop Player View switch the toggle to on.
- Click add image to upload your own image. From the Choose a file - (image pop up window) click Upload new to add your own image. After uploading scroll to find it and then Select it.
- Do the same for the Sidebar Image.
- Enter a custom message to be displayed at the bottom of the screen.
- Click Save.
Running Reports
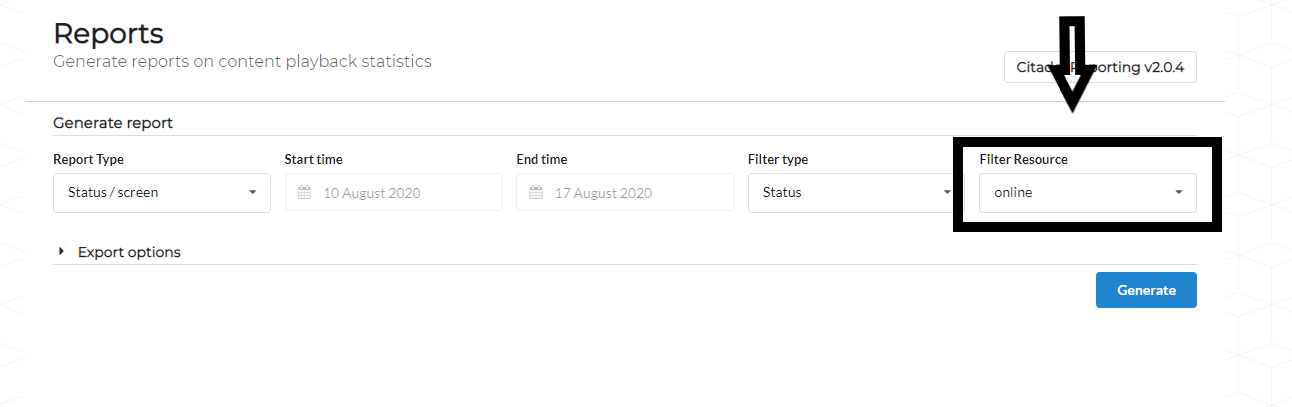
- To run reports, visit the Reports tab
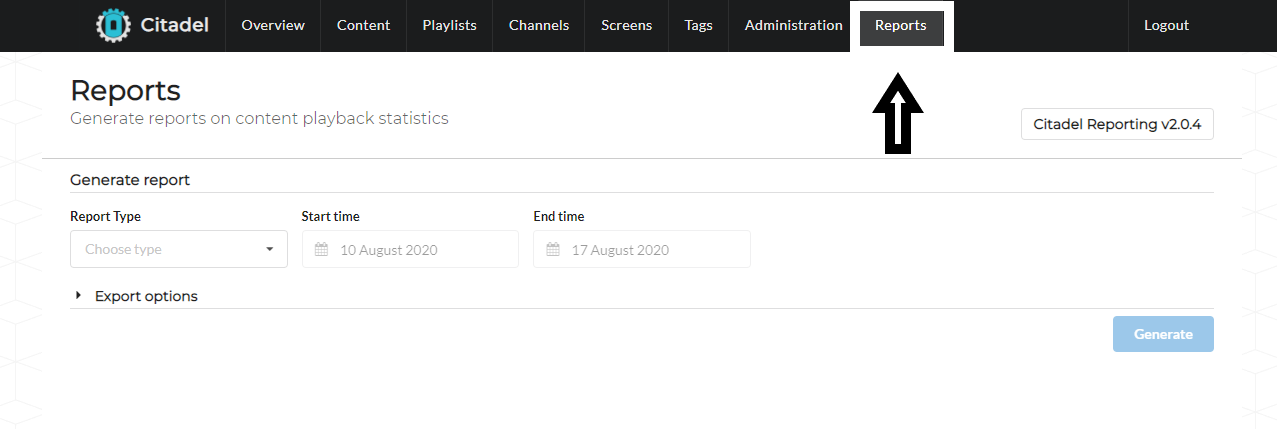
- Choose your report type (Report types include Plays/Time, Plays/Video, Status/Screen, Plays/Screen/Time, Plays/Video/Time, and Screen Issues)

- Choose your filter type (Filter types include None export all, Status, Channel, and By Tag)
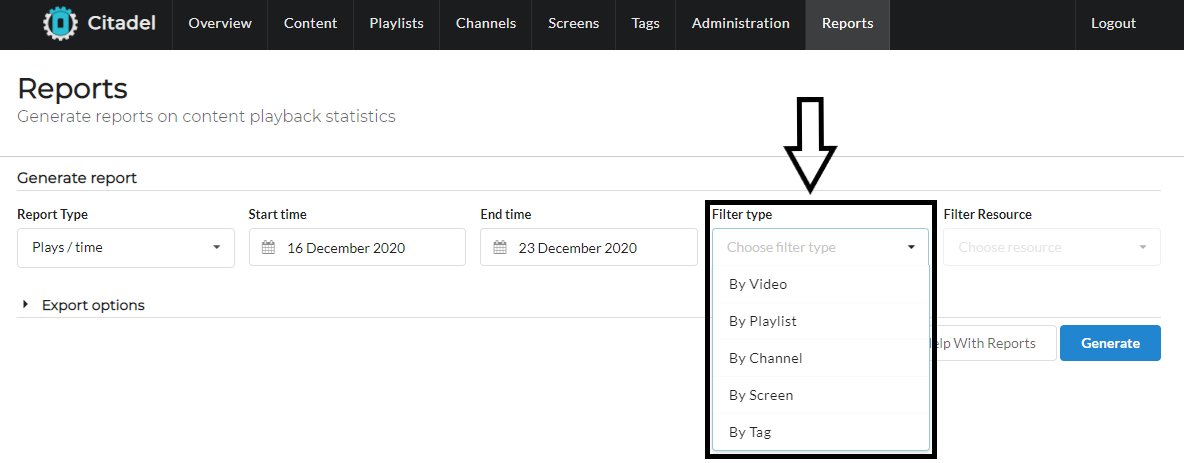
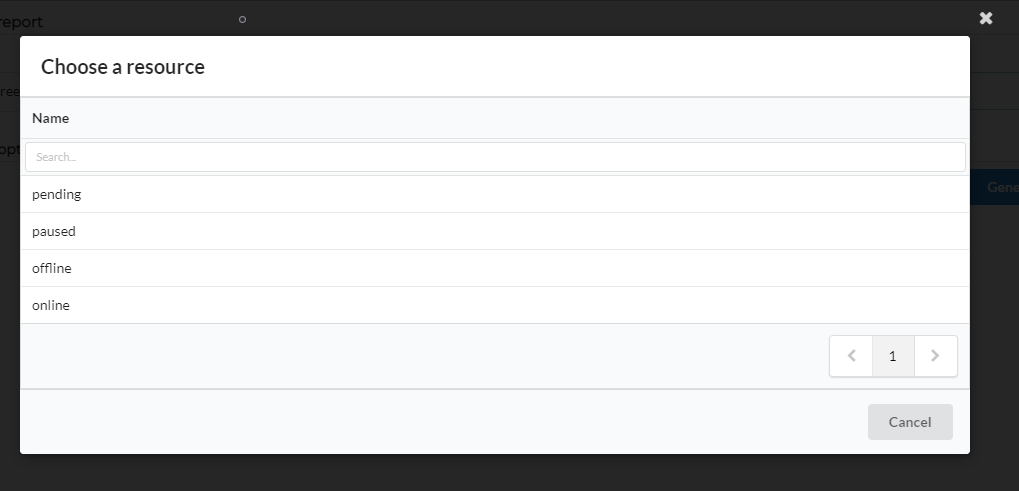
- Choose your filter resource (Filter resources include Pending, Paused, Offline, Online)
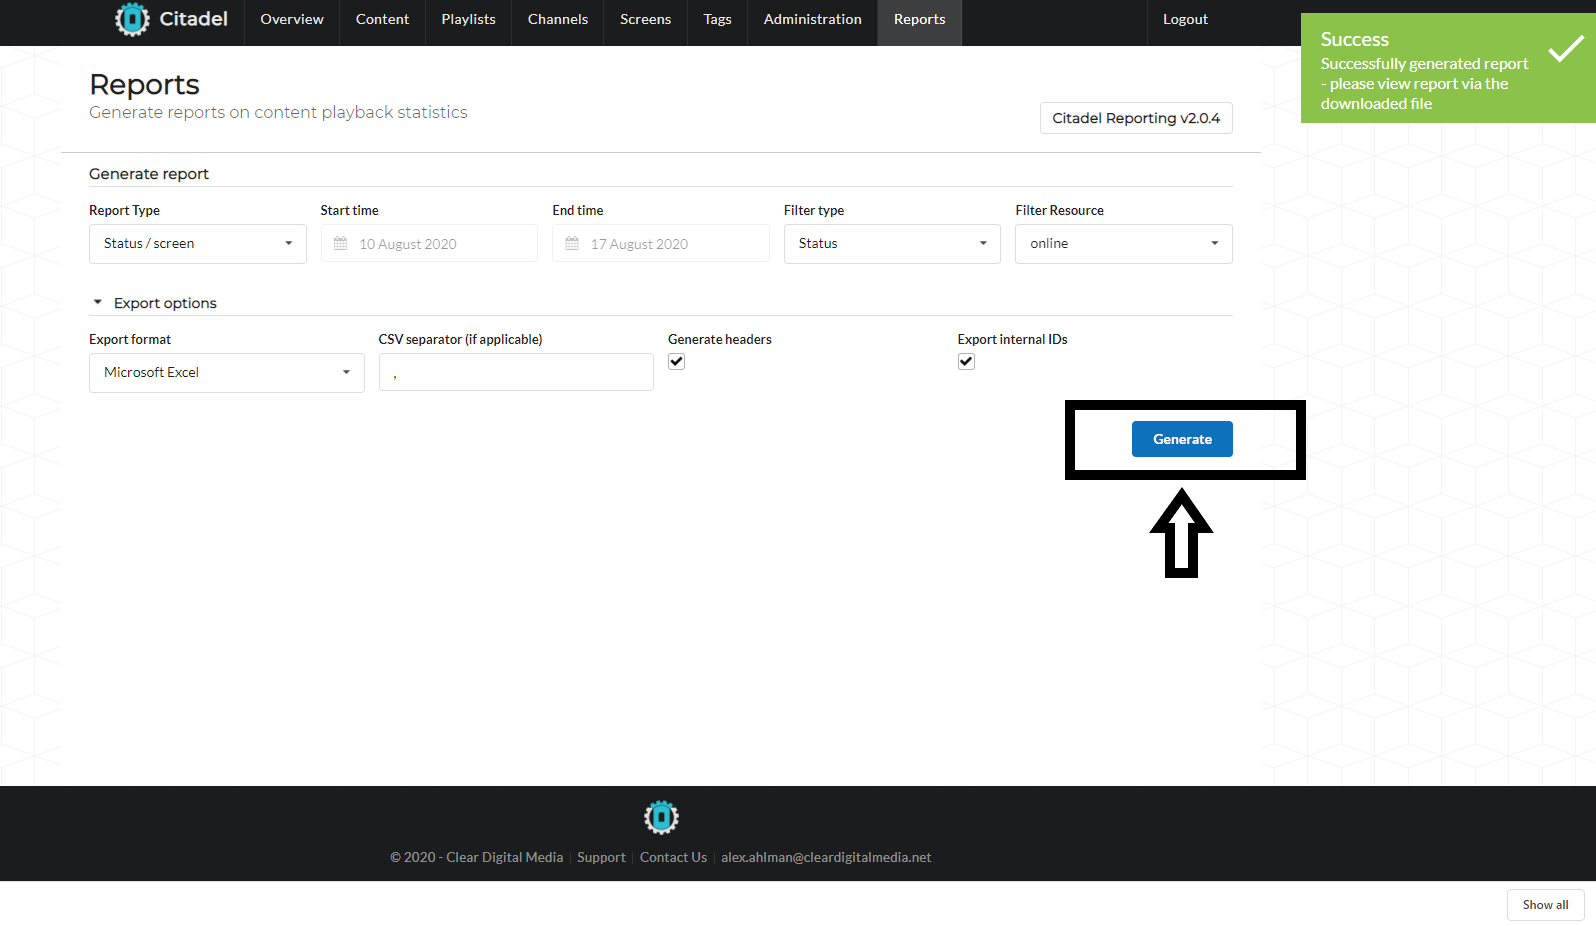
- Select your export option (PDF, Excel, or CSV)
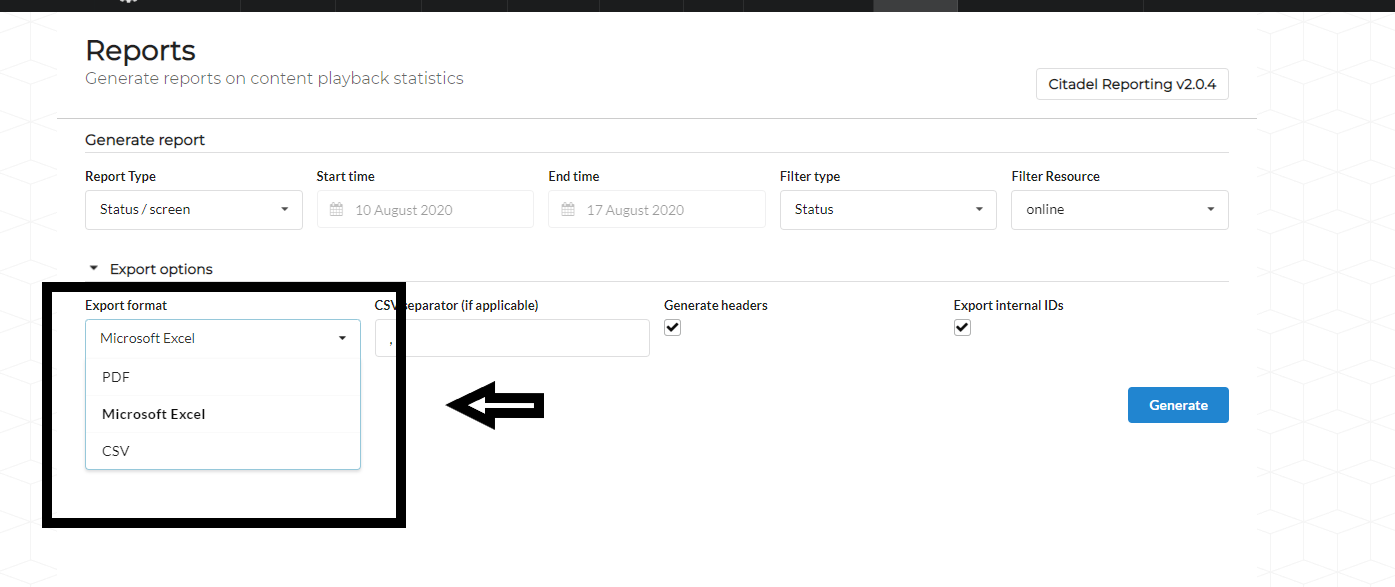
- Once all options are selected, click Generate and your report will download.
Report Types and Descriptions
Plays/Time
The Plays/Time report type focuses on the date and time a Video Plays. The report highlights the video's name, duration, and screen on which it plays.
- Highlighted in Report
- Video Name
- Date and Time Played
- Video Duration
- Screen Name on Which it Played
- File Size and Screen IP
- Common Uses
- Reviewing the Pattern of Video Plays
- Reviewing Times at Which Videos are Playing
- Things to Look Out for
- Large Reports will Issue an Error
- Reports Which are too Large but Large Enough to be Handled will Warn the Uses of Extra Time Required to Run
Plays/Video
The Plays/Video highlights the aggregated number of plays of a video(s) as well as their duration. When running this report the filter type chosen will dictate the videos that will be listed and aggregated.
- Highlighted in Report
- Video Name
- File Size
- Duration
- Number of Plays
- Common Uses
- Reviewing a Total Number of Plays Over a Date Range
Status/Screen
The Status/Screen allows users to run reports which highlight the status of all of the screens within the network. Users have the ability to run variations of this report in order to focus on screens that are online, offline, or pending.
- Highlighted in Report
- Screen Name
- Screen Status
- Device Model
- Software Version on Device
- Location
- Screen Pin
- Common Uses
- Review Offline or Pending Screens
- Software Versioning Checks
Plays/Screen/Time
The plays/screen/time report highlights the number of videos played on a screen on the date range selected. When running this report the user can filter between a selected screen or screens containing an applied tag. The user can get more in-depth with the report by selecting the type of video resource. For example, we can see the number of plays of videos based on all videos, tagged videos, videos in playlists, and more.
- Highlighted in Report
- Screen Name
- Screen ID
- Number of Plays on a Date
- Common Uses
- Identify How Many Times a Certain Video Played
Plays/Video/Time
The plays/video/time report highlights the number of times individual videos played on a screen show on a date by date basis. Similar to the plays/screen/time report, this type allows you to select from various filter types such as tags/channels/playlists etc.
- Highlighted in Report
- Video Name
- Number of Video Plays Based on Date
- Common Uses
- Reviewing the Frequency of Video Plays
Screen Issues
The Screen Issues report highlights screens in the network which are currently reporting "issues". A screen reports an issue when it has not streamed content in a period of time defined in the screens settings.
- Highlighted in Report
- Screen ID
- Screen Name
- Status
- PIN
- Days Since Last Played
- Common Uses
- Reviewing Screens Which Have Not Played
Content Creator
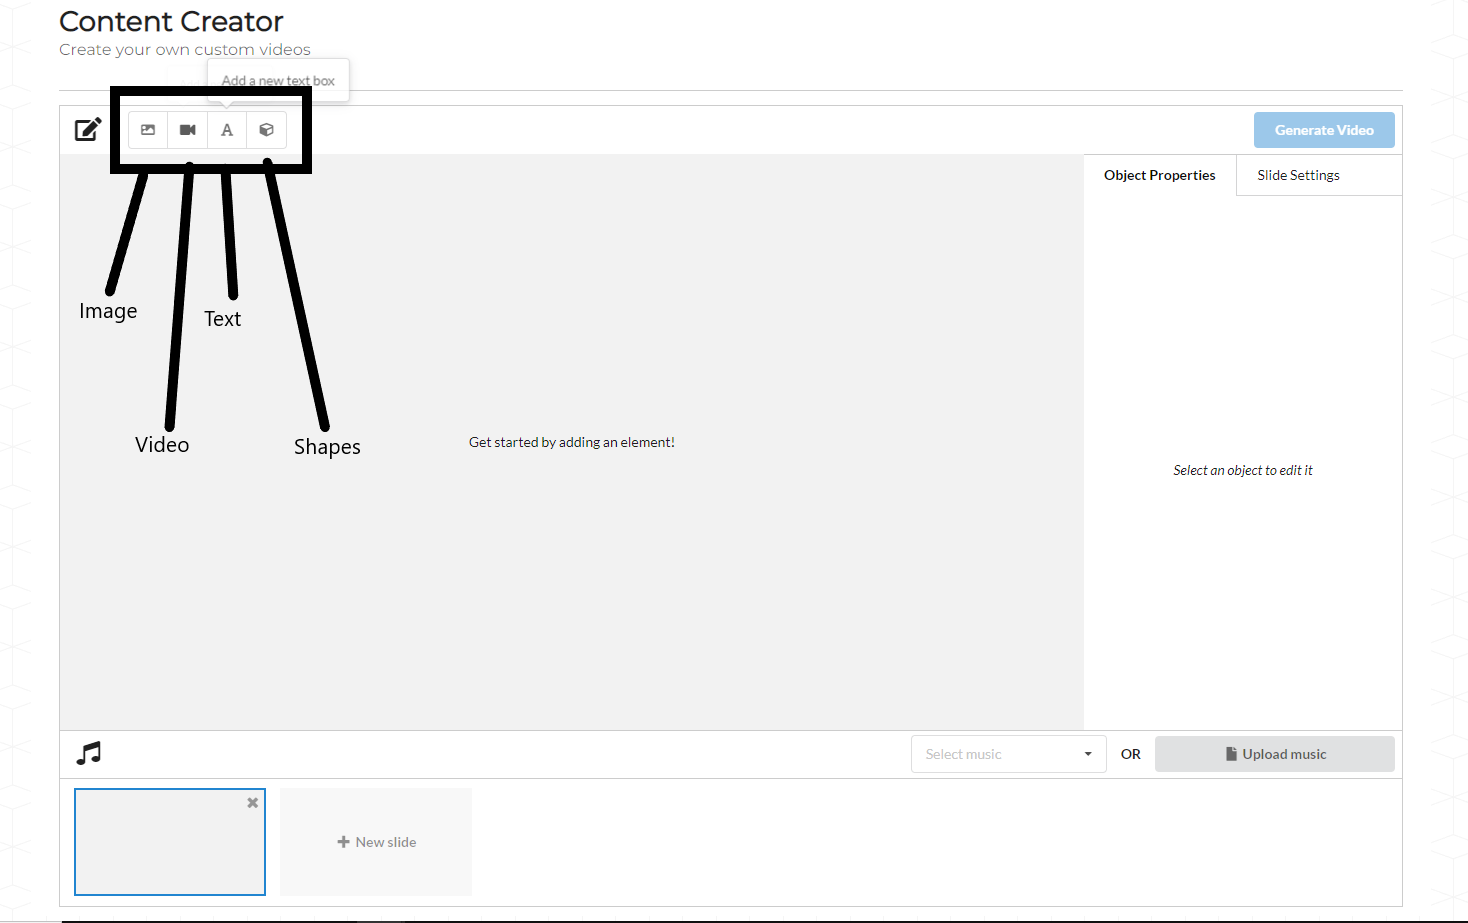
- Open Content Creator by clicking “Content Creator” under Videos on the homepage of Athena
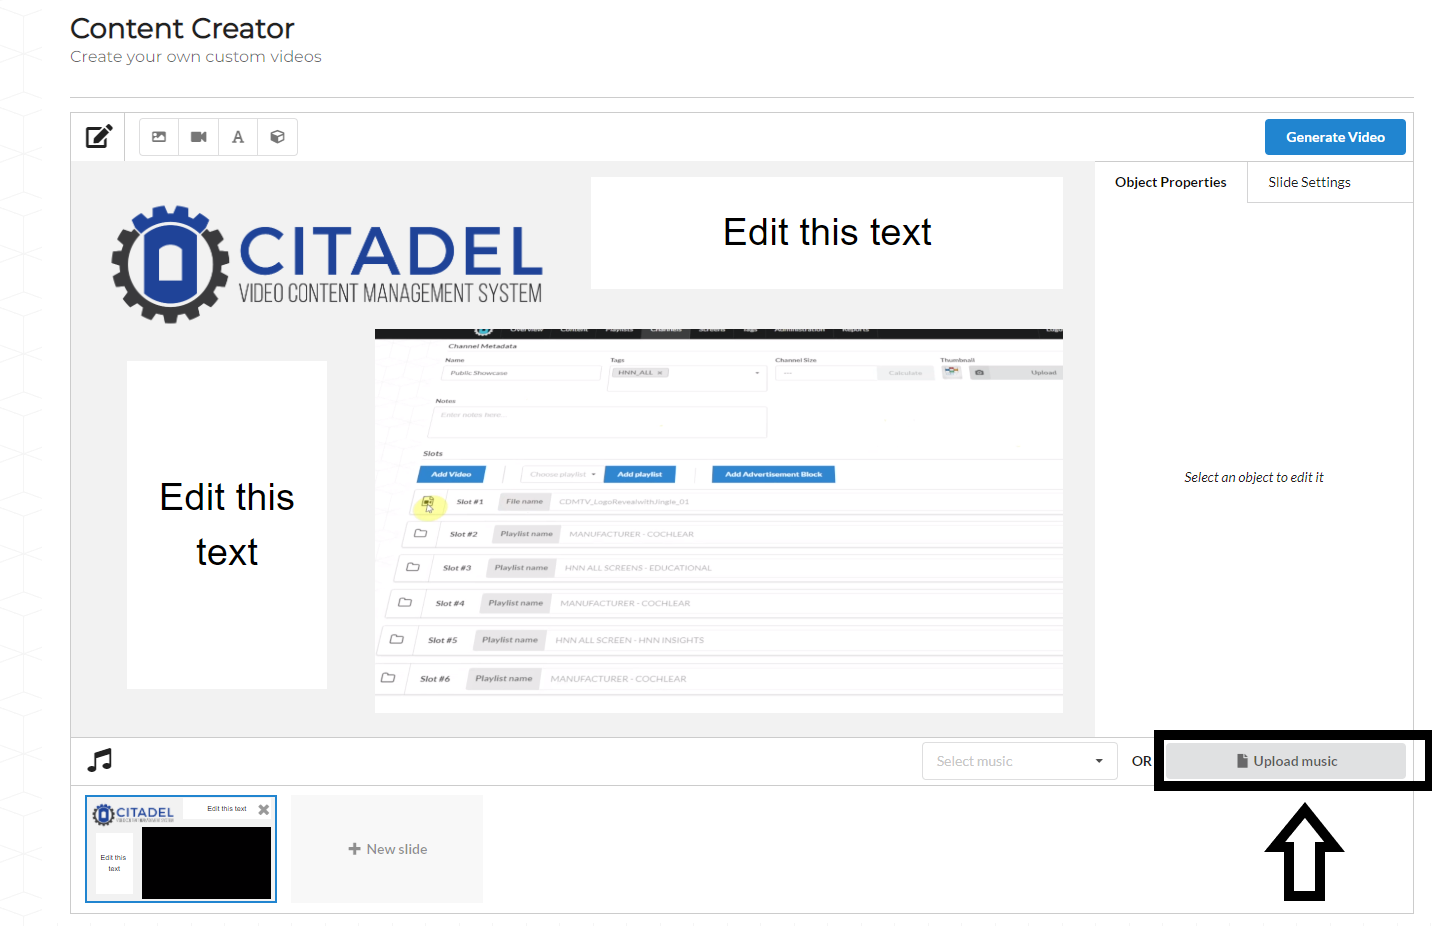
- Once you open content creator you can begin creating your video, you can start by uploading an image, a video, adding text, or adding a shape. To do so click one of the icons shown in the upper left corner (NOTE: You can add all four of these options to one slide, you can add multiple of each of these four to one slide as well)
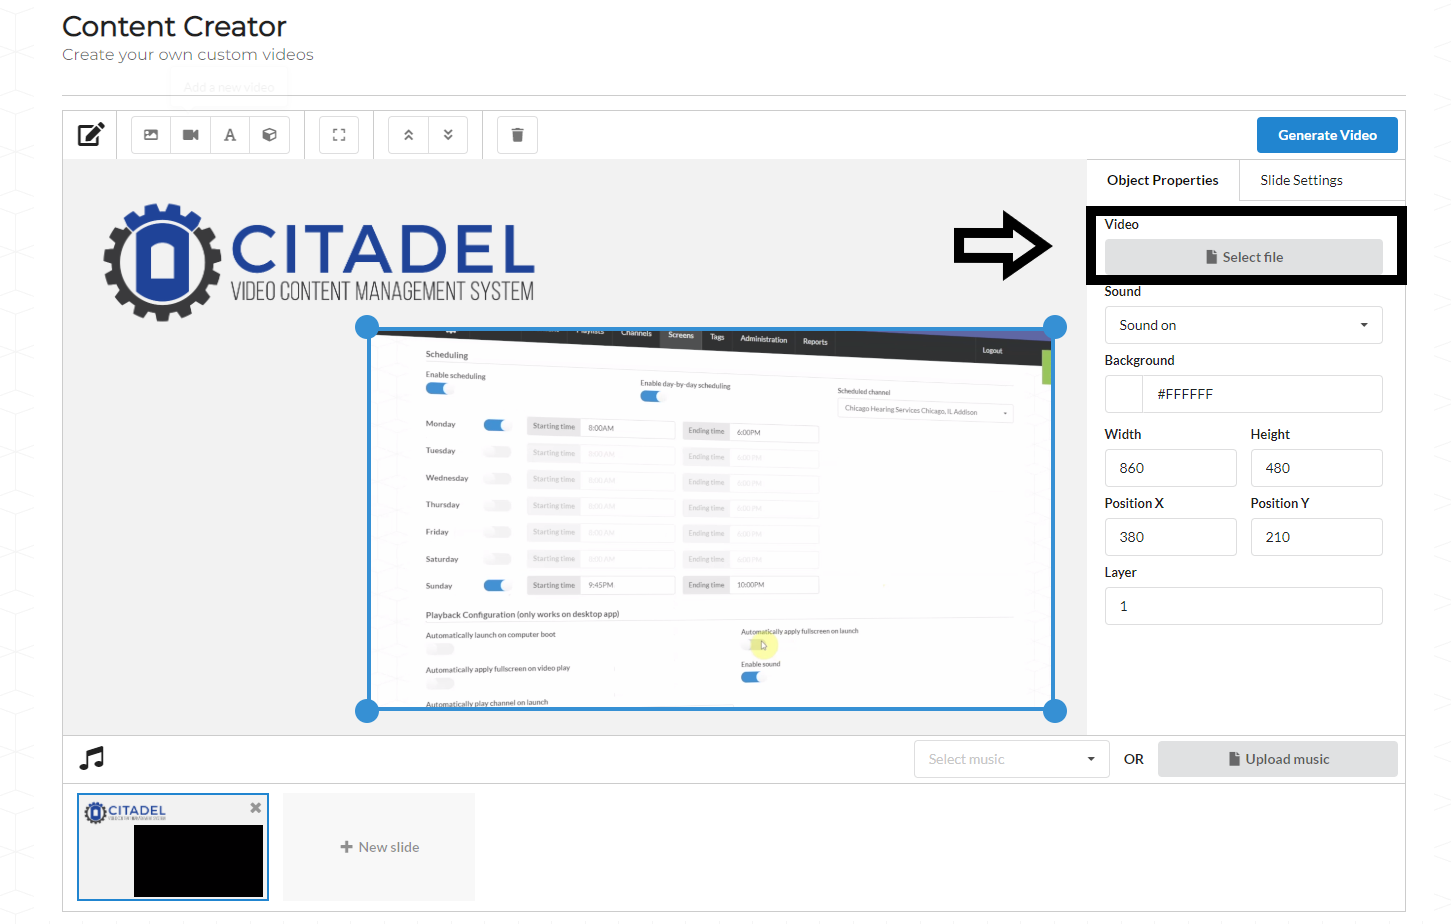
- As you click either the Image or Video option you will find under Object Properties the ability to select a file from your computer

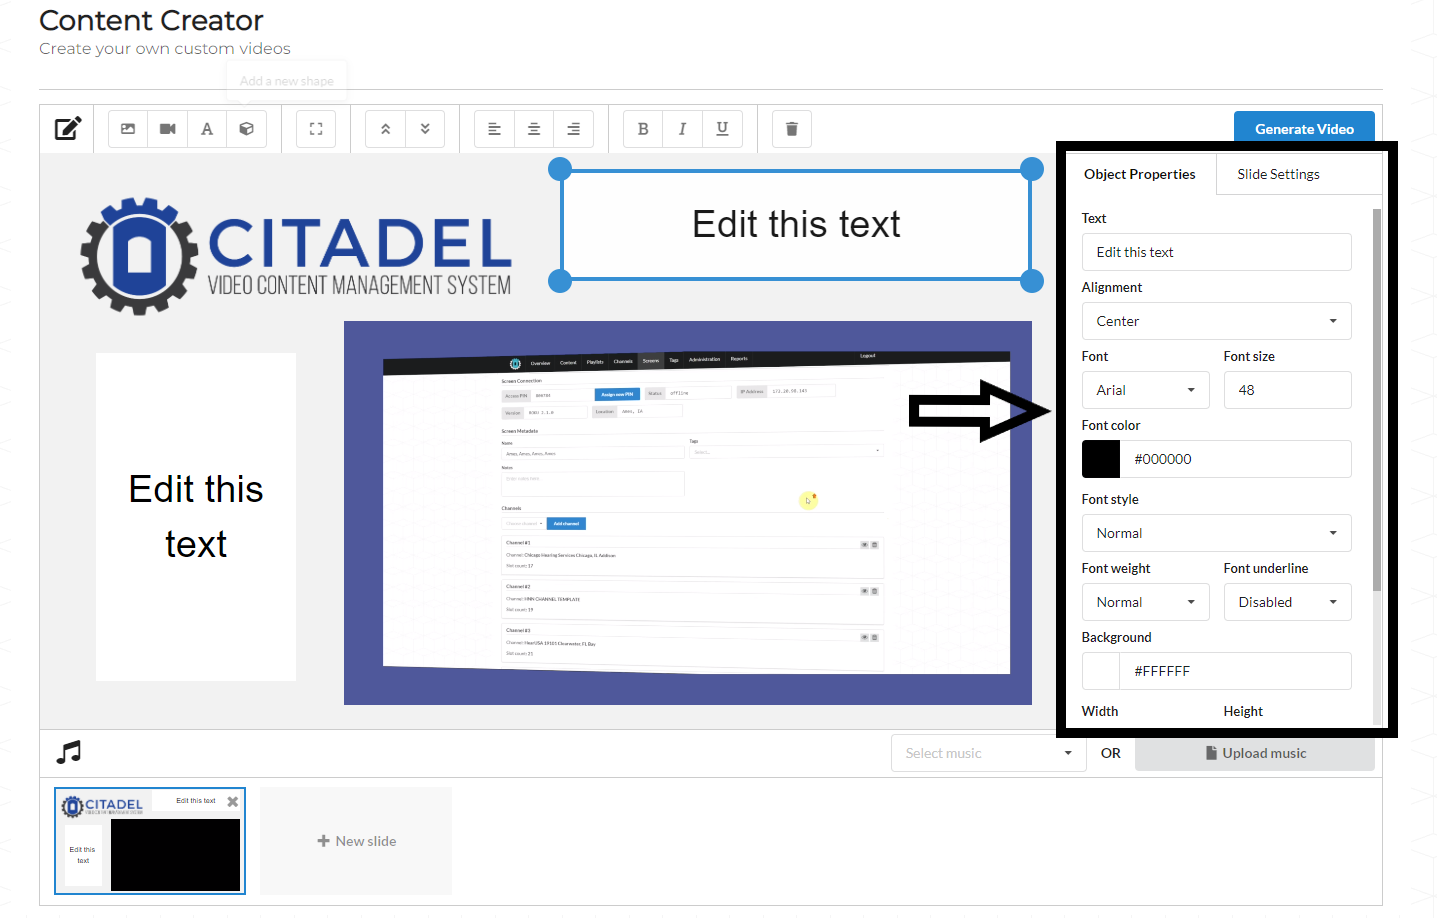
- When you add text to the screen, you can edit the text on the right hand side
- You can add music or sound to your video by clicking “Upload Music” in the lower right corner (The file must be an MP3 file)
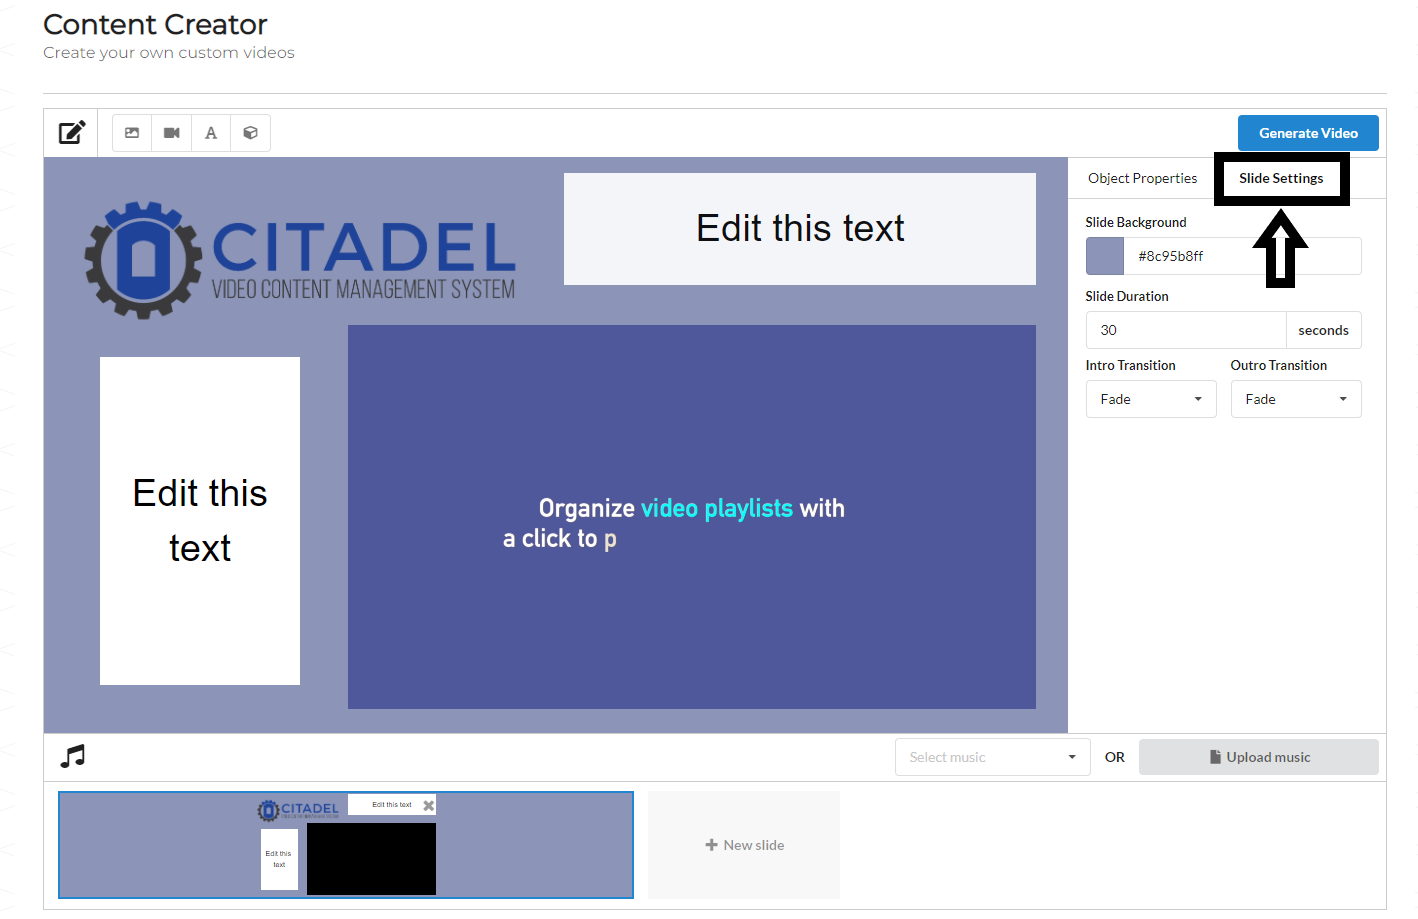
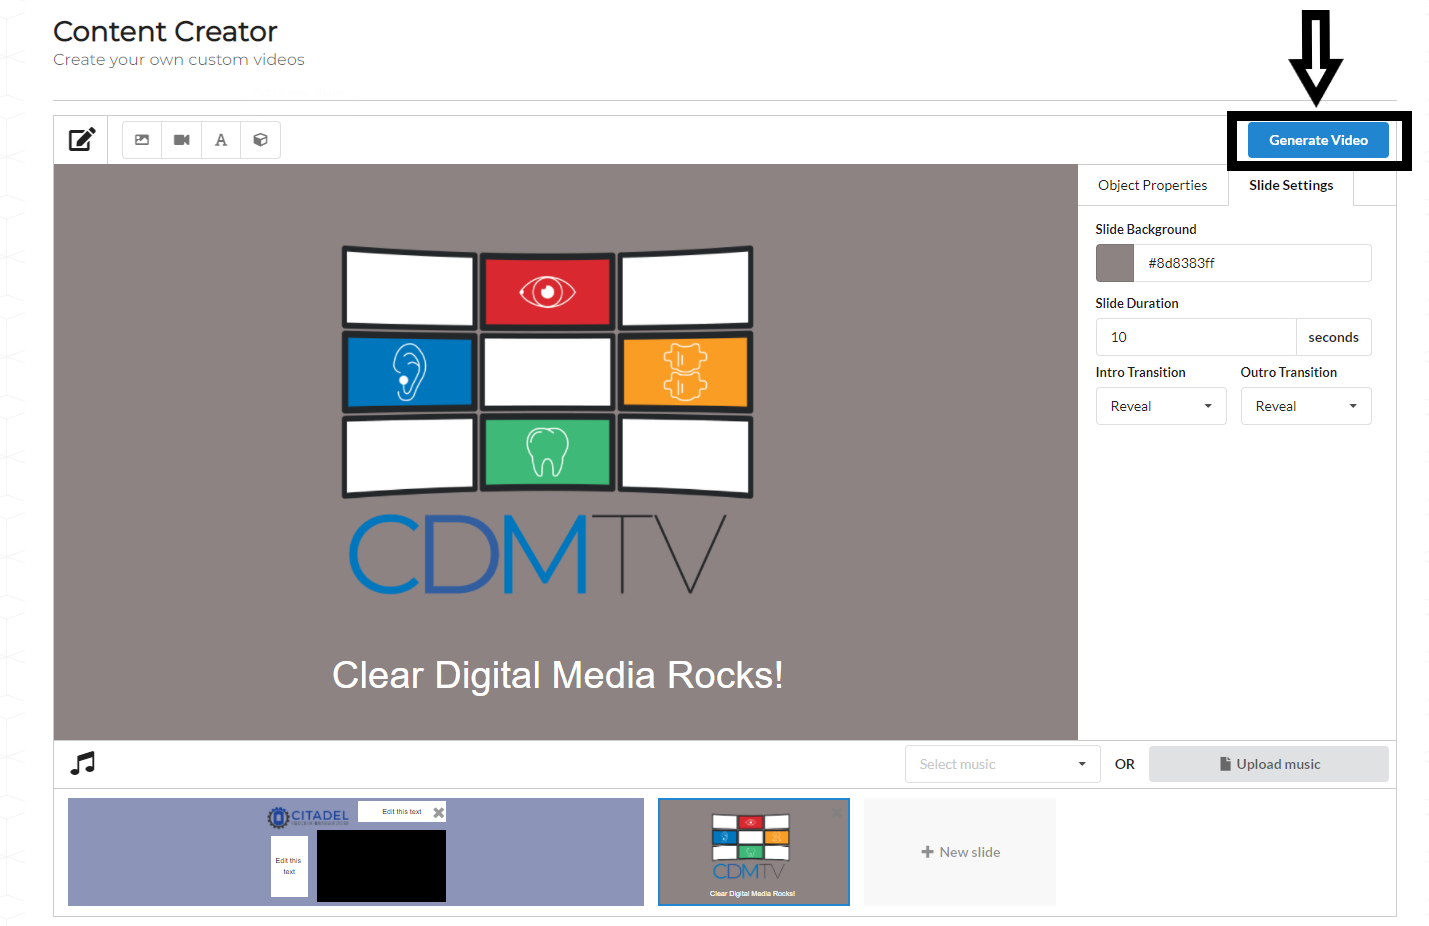
- To edit the background color, slide duration, and intro/outro transition, click on Slide Settings in the upper right corner
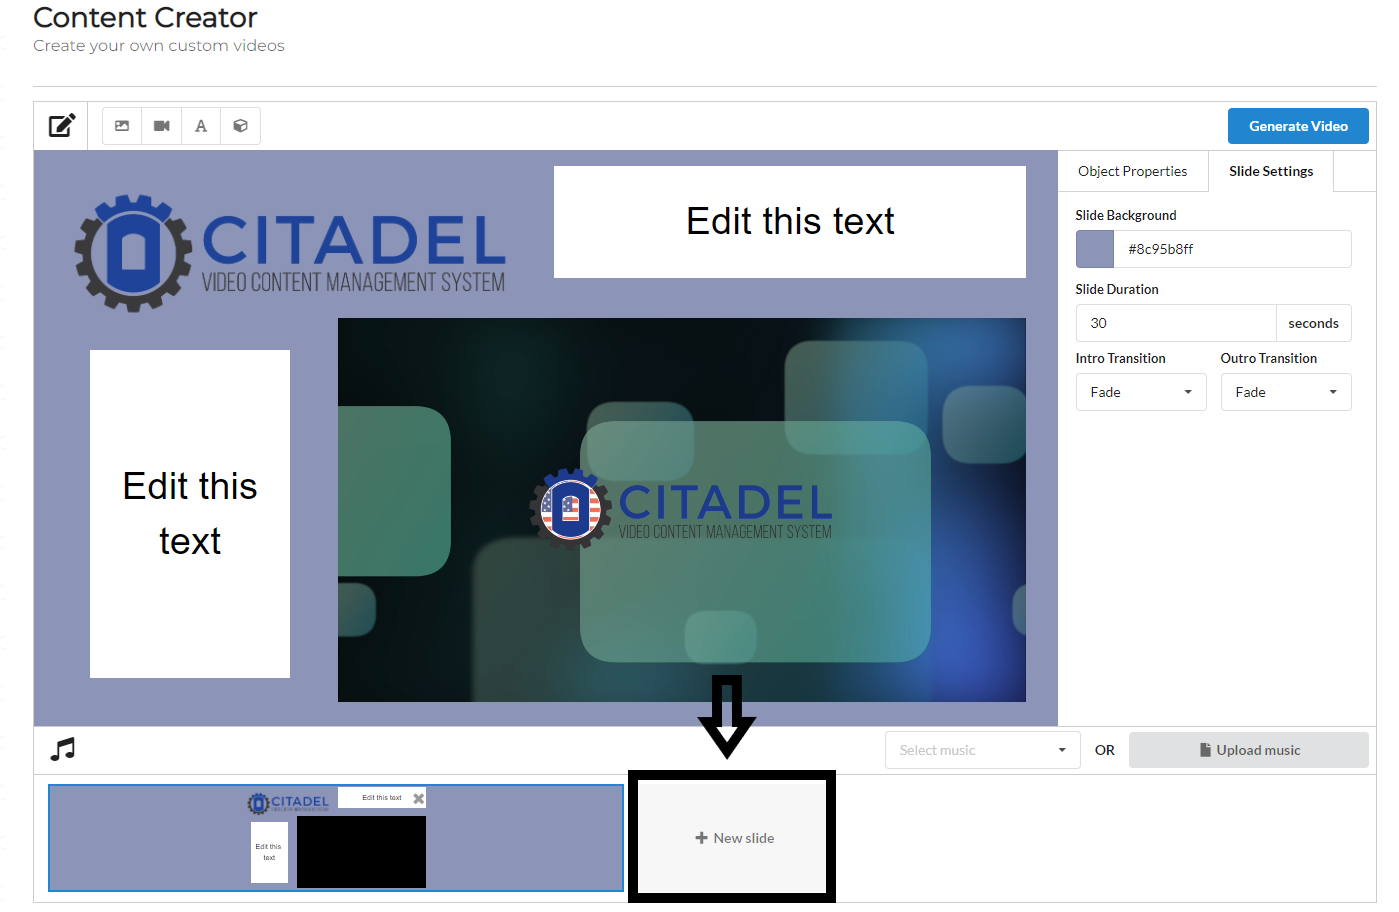
- Once you are happy with your first slide and you would like to add a new slide, click + New Slide on the bottom bar
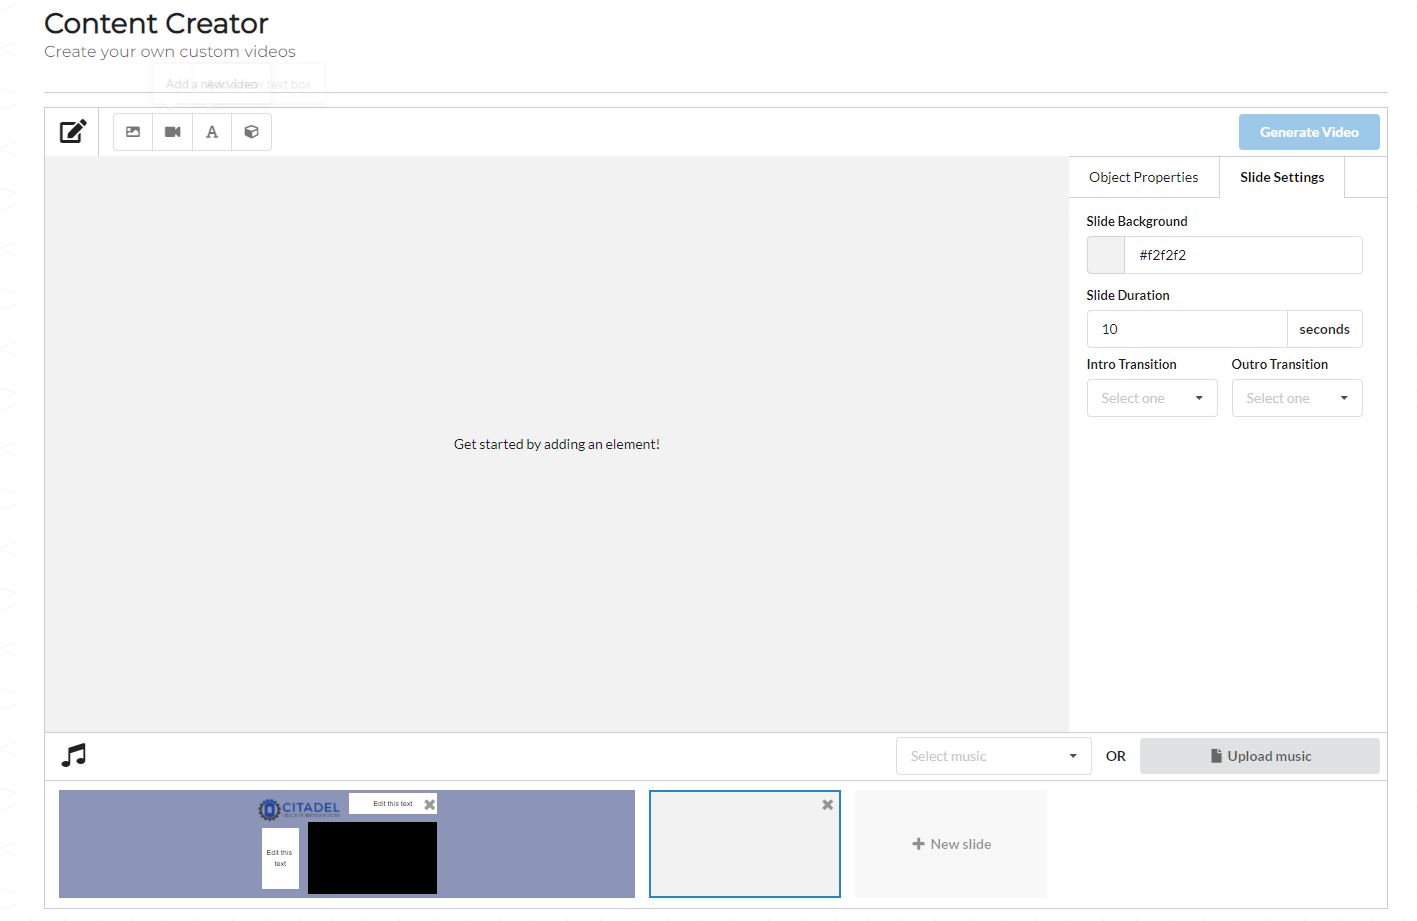
- Repeat all steps above to continue creating and adding slides! Once you are happy with your finished video, click Generate Video in the upper right corner
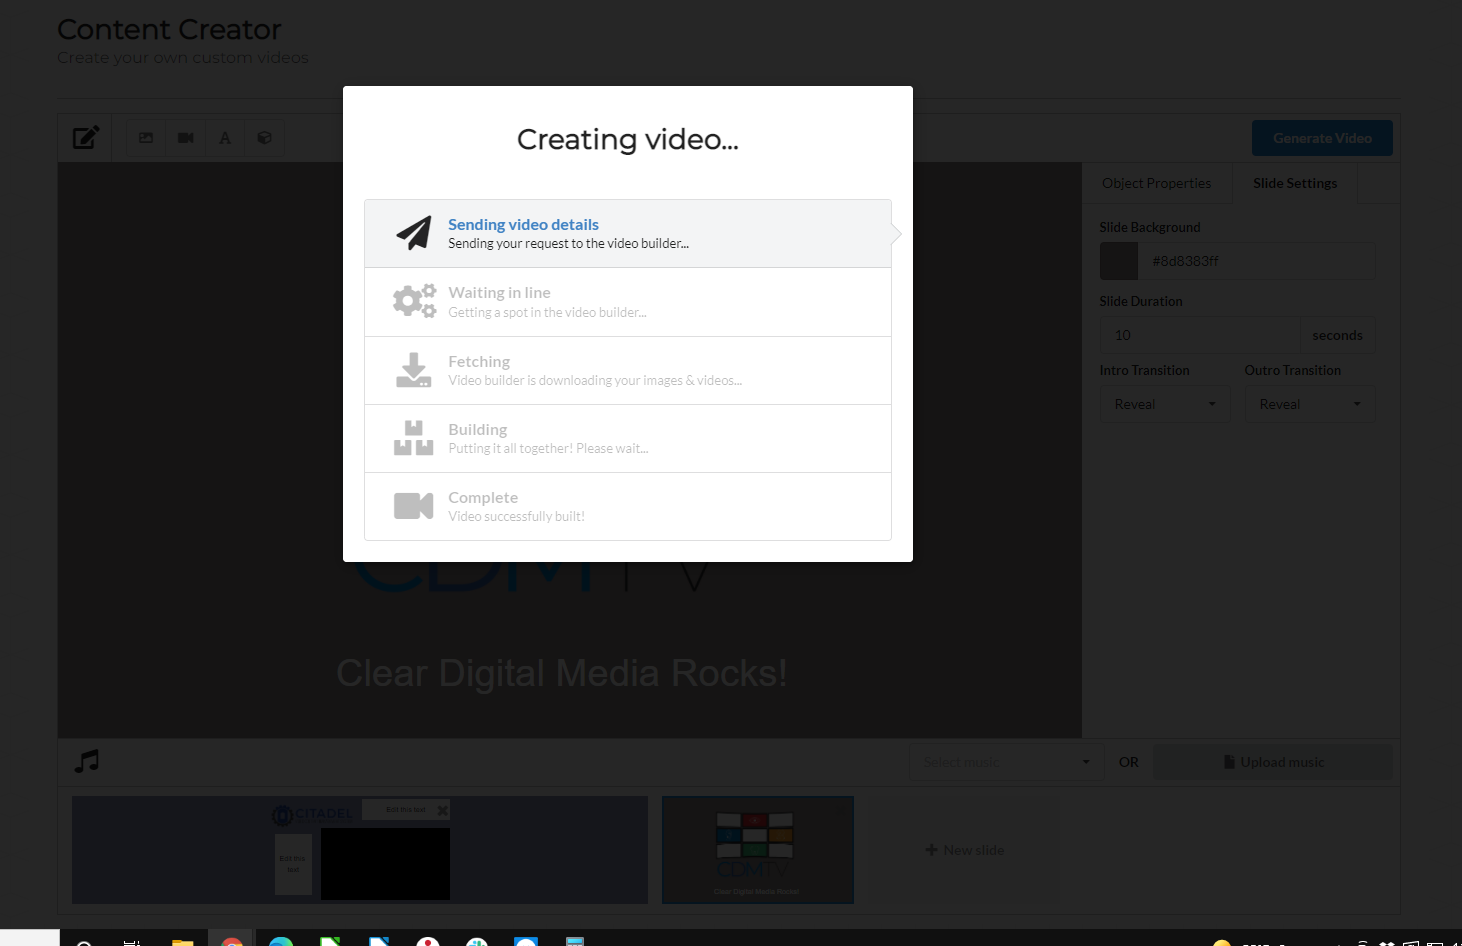
- After you press generate video your video will begin to render, you can track the progress of your video rendering here (as each part finishes a green check will appear next to each step)
- Now you can choose to either download your video or add to the library
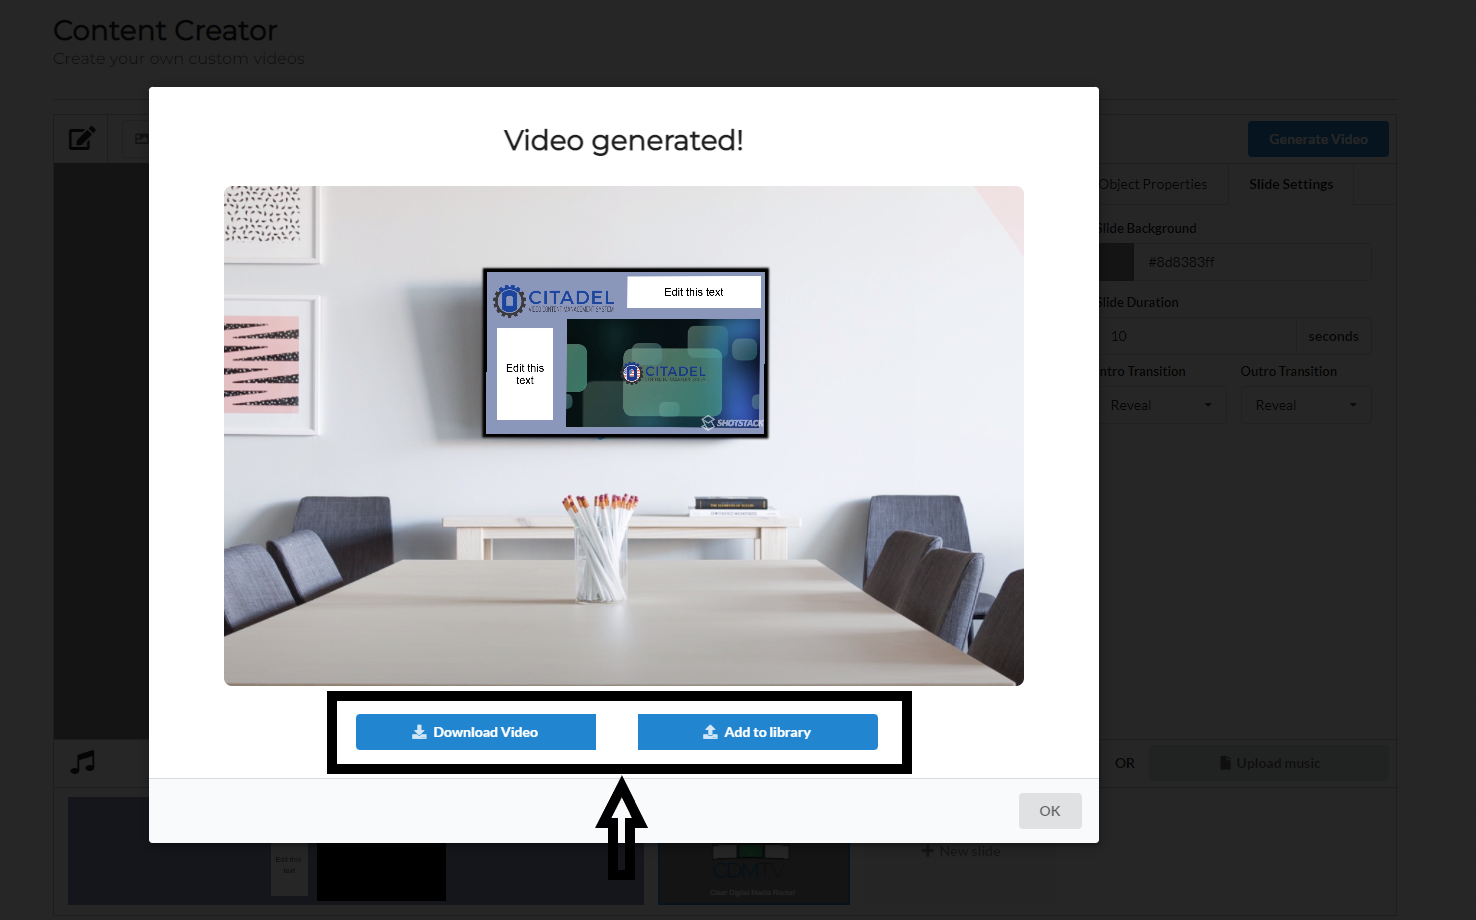
- If you choose download video your video will begin downloading to your computer, if you select add to library you can name your video and it will now appear in your library under Video Library from the home page
- When you select download, your video will begin downloading to your computer and will appear in your downloads folder.
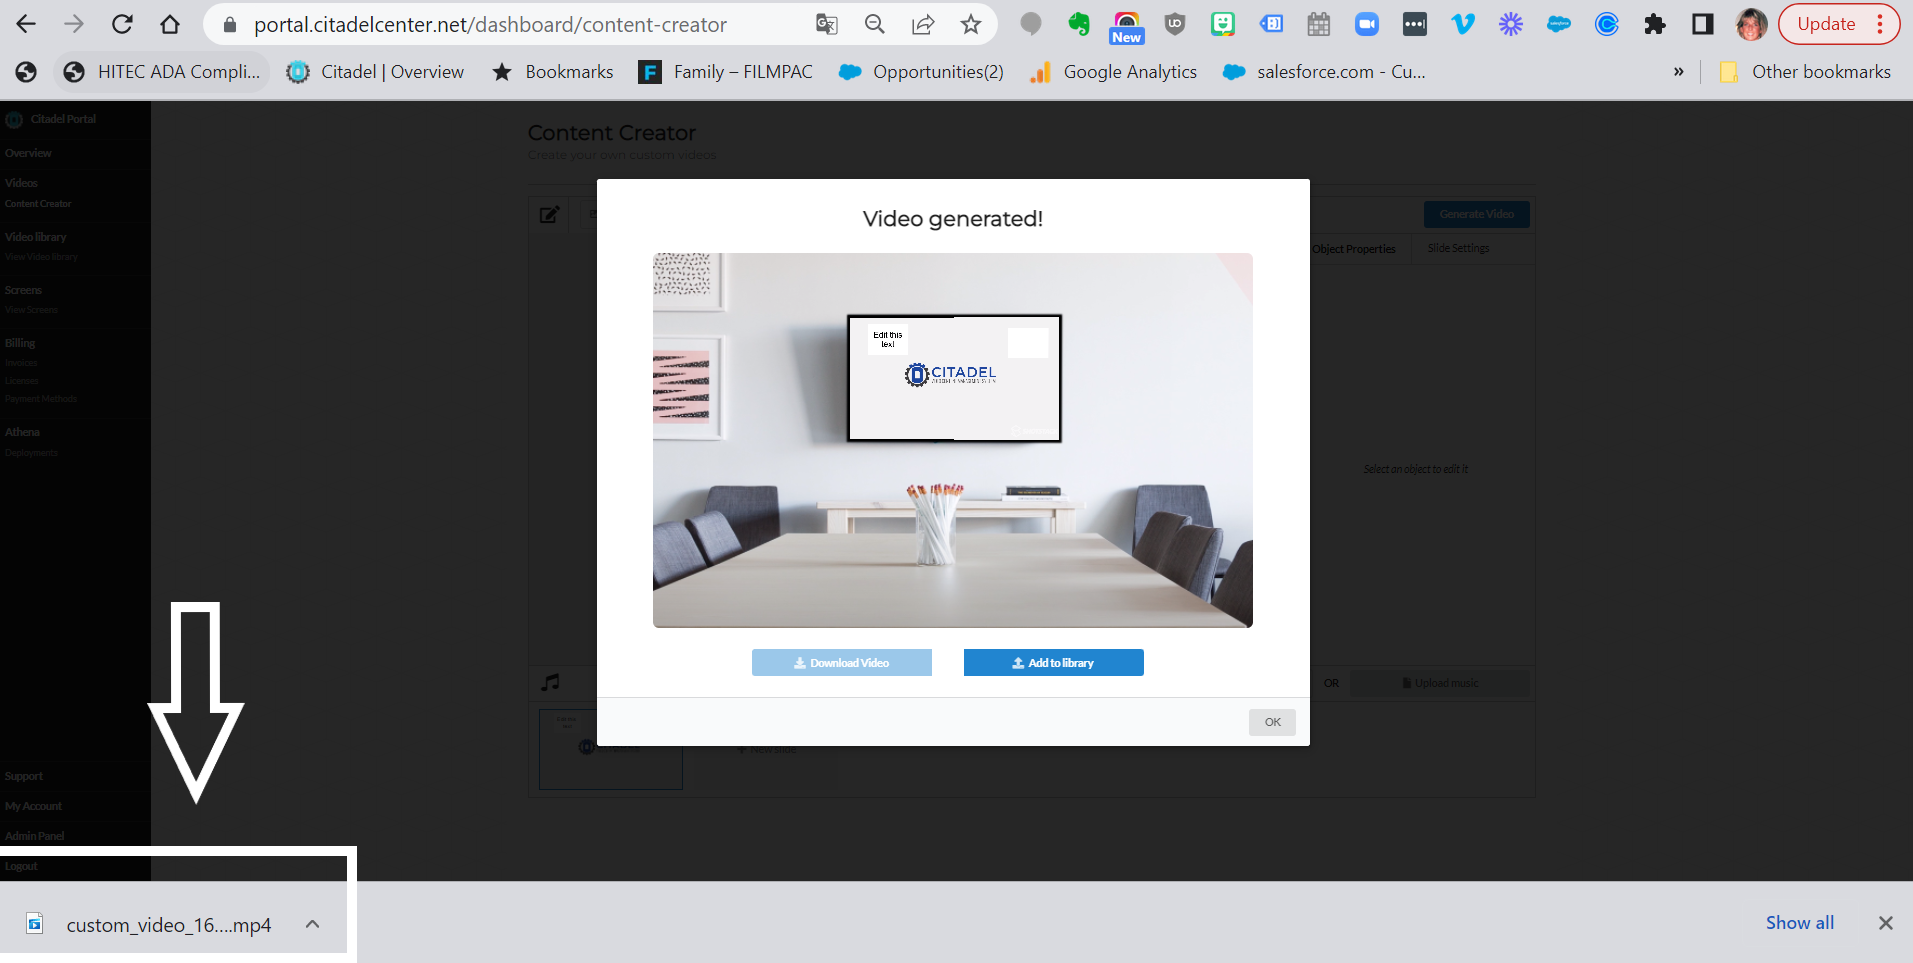
- When you select add to library the video will upload to your library on portal.
- To add this video to your screen, follow the instructions in the Creating Playlist tab above
Related Articles
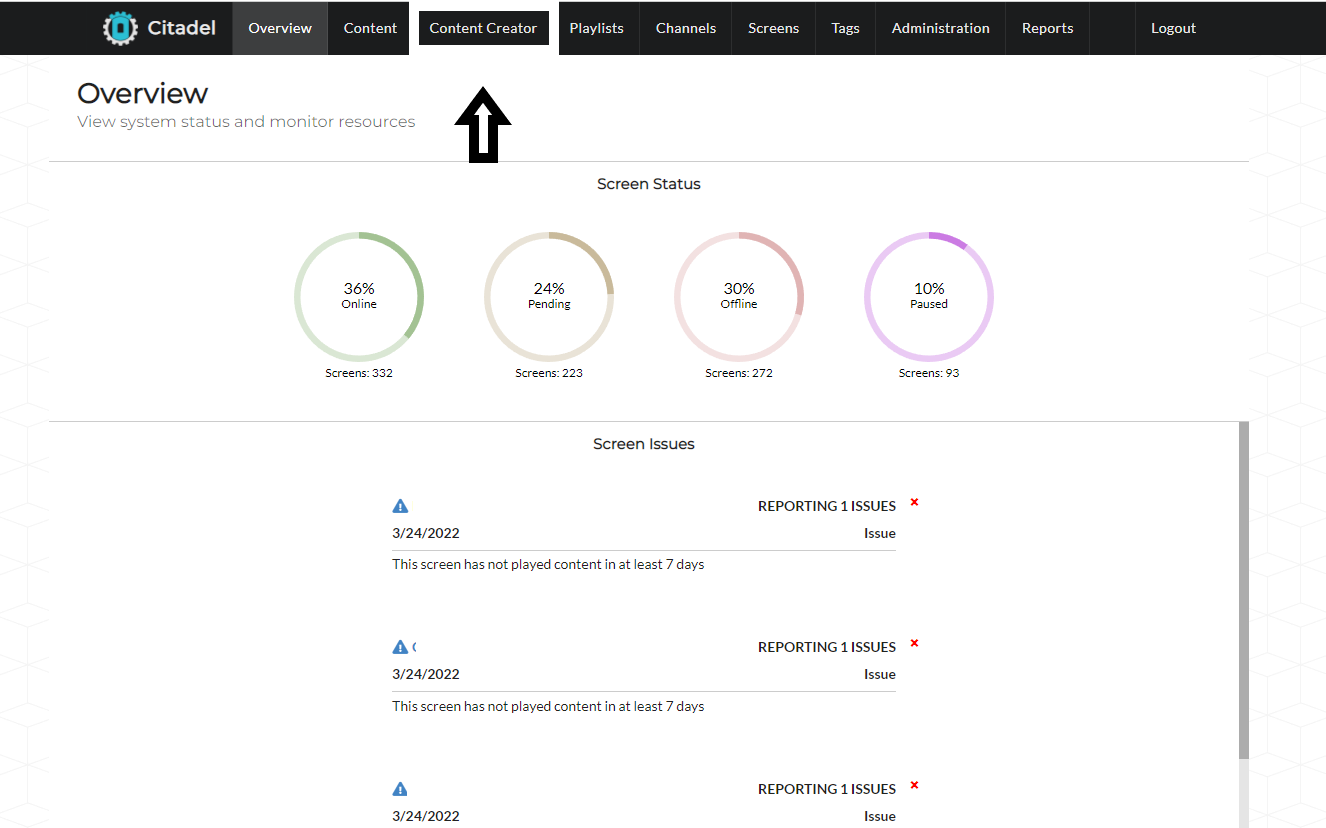
Athena Overview
Overview Tab From the Overview tab, you can see screen status, any screen issues as well as a streaming overview. Content Tab From the Content tab, you can upload files, create folders, and view your videos. Playlist Tab From the Playlist tab, you ...How to Manage Your Citadel Account
Uploading Videos Click on View Library Press Upload New Video Select the video you are wishing to upload when prompted Once the video is done loading, it is now uploaded to the library. Attach Videos from Your Video Library to Your Screens Go ...